You must refer to this article instead if you are upgrading from v1.X.X to v2.X.X.X.
1# Upload the app catalog
These steps need to be done just once per SharePoint instance by a global SharePoint Administrator.
- Login to your Office 365 admin center page with an administrator account;
-
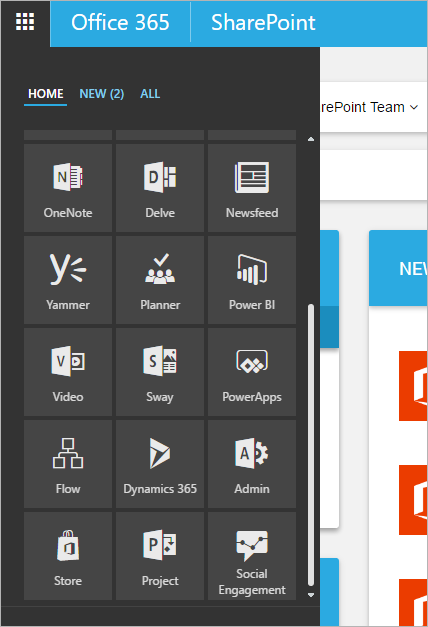
Open the app launcher and click on Admin;
-
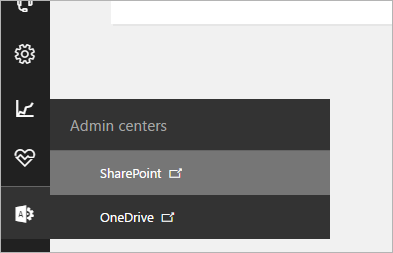
Open your SharePoint Admin Cente;
-
On the left pane, click on apps and then App Catalog;
-
On the left pane, click on Apps for SharePoint;

-
Now click on Upload and upload the app file that is inside your web part package;
- You will be promted to replace the existing file on the library. Click Yes.
Now let's upgrade your web part!
2# Upgrade the web part
To upgrade the web part on multiple site collections, simply repeat the following steps on each.
-
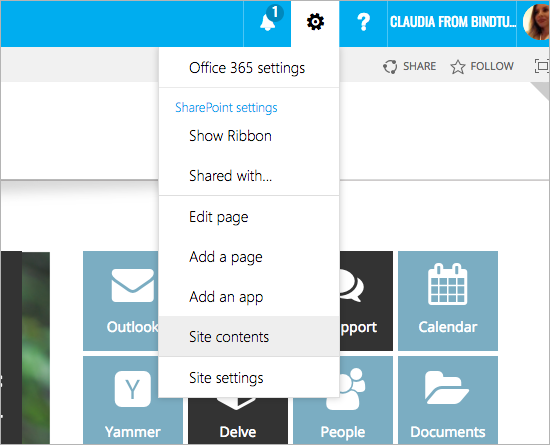
Inside your site collection, click on Settings ⚙️ and then on Site contents;
-
Click on the ellipsis button on the app and then Details;
-
You will see a new version available. Click on Get It button and wait for the app to finish updating;
-
Once the update is complete, click on the app and click on Update Available;
The page will begin re-deploying the web part into your site. Once it’s finished you will have the new version on you site collection.
Upgrade a trial to a trial or to a paid version
If after the upgrade your web part remains in the same version, follow these steps instead to fully upgrade.
- After following step 1 (Upload the app catalog) and step 2 (Upgrade the web part), open the pages where you have the web part(s) you want to upgrade;
- Open the pages where you have the web part;
- Add a new web part to the top of the page;
- Save the page;
- Make sure you have the page checked out;
- Click on the Edit Web Parts button under the BindTuning ribbon tab;
- Wait for a second as the web parts update then place the page in edit mode;
- Delete the extra web part from the top of your page;
- Save the page;